Coconut Bars recipe sweetened condensed milk
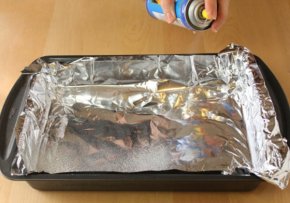 First things first: prepare your fancy candy bar receptacle by lining a 9×13-inch pan with aluminum foil and spraying the foil with nonstick cooking spray.
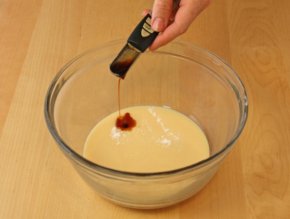
In a large bowl, combine the sweetened condensed milk, the vanilla, and the salt. Stir them together until they’re well-mixed. If your room is fairly cold and the condensed milk is thick and hard to stir, microwave it for 10-15 seconds, just so that it loosens up and is easier to work with.
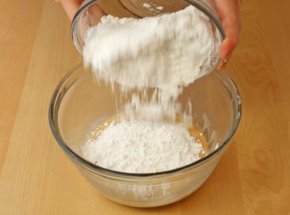
Next add the powdered sugar to the bowl with condensed milk, and stir it in.
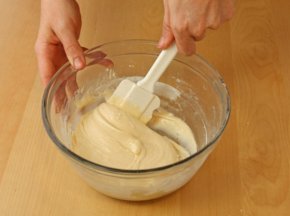
It may be difficult to incorporate it all at first, but keep stirring and you should soon have a thick, smooth mixture like this.
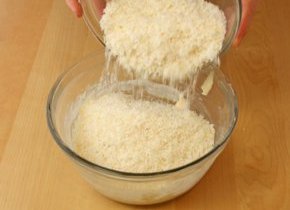
Now for the star ingredient: the coconut! Add it all at once and mix it with the condensed milk until there are no dry patches remaining. This can be done with a mixer, but I like using a wooden spoon–stirring burns calories that can later be eaten in the form of candy bars!
Your final coconut mixture should be sticky but fairly stiff.
 If it’s runny add a bit more coconut, and if it’s very dry, add a bit more condensed milk. Coconut can have different moisture levels depending on its age and how it was stored, so there’s some trial and error involved in getting a texture you love.
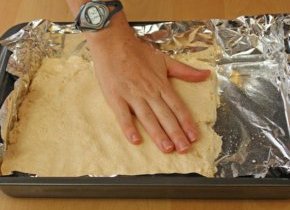
Scrape the coconut into the prepared pan. Wet your palms and press the coconut into a thin, even layer. You can control how thick you want the coconut layer to be. I prefer my coconut to be about 1/2-inch thick, so I don’t cover the entire pan–I use about 3/4 of it and leave the rest of the pan empty.
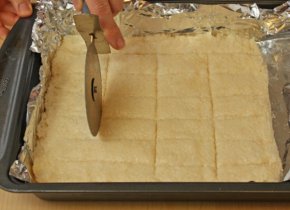
Use a knife or a pizza wheel to lightly mark the top of the coconut into bars.
 This is optional, but it keeps your candy bars the same size and helps immensely in almond placement.
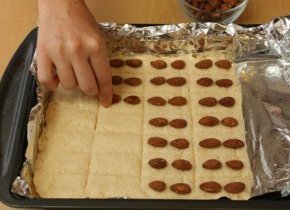
Hey, speaking of almonds, let’s get those on the candy bars, stat! Take your roasted almonds and press them into the sticky coconut top. I use 2 per bar, to stay traditional, but you can use more or less, to taste. Once all the almonds are placed, refrigerate your pan to firm up the coconut, for about an hour.
Once the coconut is firm enough to cut, take it out of the refrigerator. Lift the candy from the pan using the foil as handles. Use a large sharp knife to cut your bars along the lines you marked earlier.
 Almost done…we just need to add some chocolate!
Place your chopped chocolate or candy coating in a microwave-safe bowl and microwave it in 30-second increments. Stir it after every 30 seconds so that it doesn’t overheat.
When it’s melted and smooth, use forks or dipping tools to dunk each candy bar in the chocolate, then tap it against the lip of the bowl to remove any excess chocolate. Place the bars on a foil-lined baking sheet to set while you dip the rest. Refrigerate the tray to set the chocolate, for about 10 minutes.
Congratulations, you’ve made your own candy bars! The small size and easy assembly-line nature of these candy bars means they’re the perfect homemade gift. They look beautiful all packaged together, and they’re simple and fast enough to make in large quantities. Coconut candy Christmas, anyone?
Of course, the problem with that idea is that you have to share these with other people. I won’t tell if you hide them away and sneak a few a day as an afternoon pick-me-up. After all, these almond-coconut candy bars are meant to bring you joy!